MagnaPanel Installation procedure
CLICK HERE TO GO BACK TO "ABOUT MAGNAPANEL"
MagnaPanel’s access panel hardware system solves many problems associated with plumbing, electrical, and mechanical access.
 |
Using the spade bit included in the starter kit, drill a countersunk hole for each magnet to a depth of 1/2" |
 |
Screw the included lag bolts into the center of each hole |
 |
Place one magnet onto the center of each installed lag bolt |
 |
Mix and apply a dab of epoxy to the center, outside-facing surface of each magnet |
 |
To mark magnet positions, align your panel on top of the magnets to transfer a dab of epoxy to the inside face of the panel. |
 |
Remove your panel and place flat, with the inner panel surface and transferred dabs of epoxy facing up.Then, using a putty knife, slide the magnets away from the lag bolts.Apply a generous portion of the epoxy to the surface of each magnet, and, centering the magnets on the epoxy dabs on the inner face of the panel, press each magnet firmly into place. |
 |
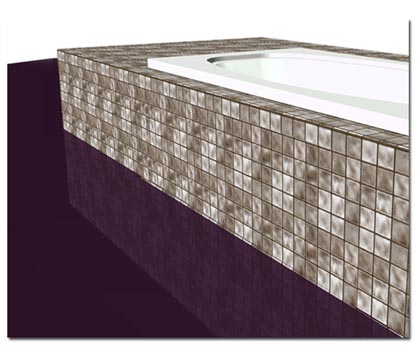
After the epoxy sets in approximately 30 minutes, your panel is ready to receive its surface treatment. In this example, tile.Tip:To provide a convenient mechanism for future removal of the panel, tie a length of string to the included flat washer and, using some of the provided epoxy, glue the washer in a position where it won’t interfere with the framing behind the panel on installation.After the panel is installed, feed the loose string into the caulk joint around the perimeter of the panel before caulking.
|
 |
When this process is complete, simply snap your panel into place and adjust the lag bolts in or out to make the panel flush with the surrounding finish.It's that easy! |